Wrapping text in Google Slides can elevate the quality of your presentations by enhancing readability and visual appeal.
This feature lets you arrange your text around images, creating a more organized and captivating slide design. Whether you are a student preparing for a project presentation or a professional delivering a business proposal, mastering text wrapping in Google Slides can significantly improve your ability to convey information effectively.
Our article will cover the basics of text wrapping in Google Slides and how to apply it quickly and correctly.
What is Text Wrapping in Google Slides?
Text wrapping enhances the visual appeal of your slides, making them more readable and visually appealing. It also allows you to create dynamic layouts and avoid text overlapping issues, ensuring your audience can easily follow your content. When you wrap text, you can arrange text around images, shapes and graphics in Google Slides.
Text wrap is an effective technique to design a professional and stylish presentation. It improves the readability of your document, making it easy to connect illustrations to text and create visually appealing slides.
How Do I Wrap Text Around an Image in Google Slides?
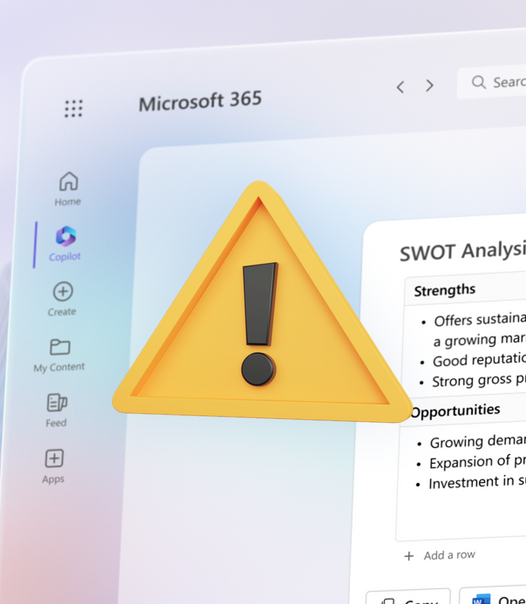
At the time of writing, Google Slides doesn't include a dedicated text-wrapping tool. You can still apply text wrapping manually by using text boxes.
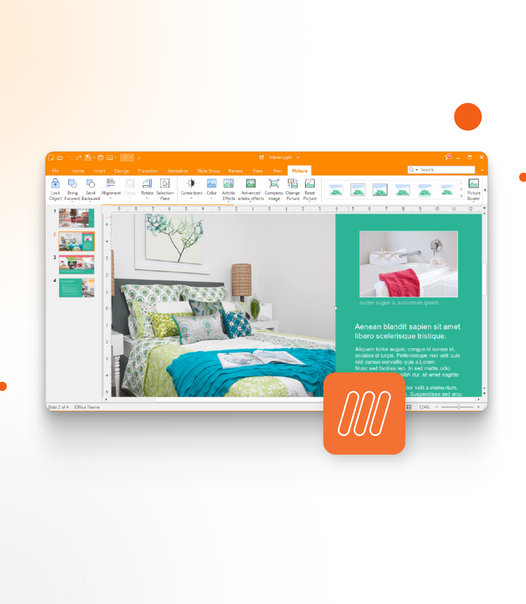
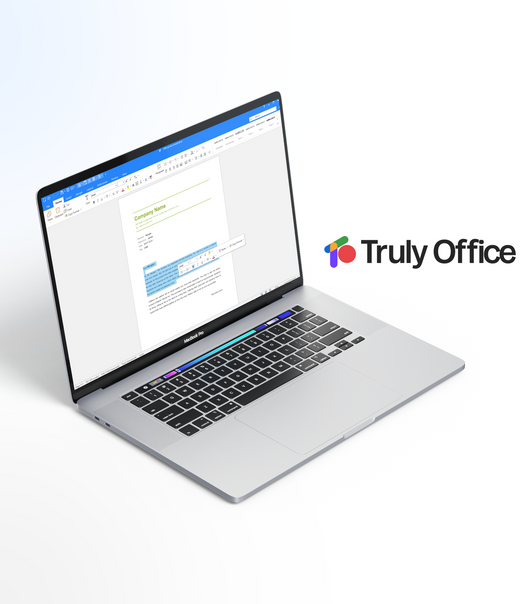
Experience Text Wrapping with Truly Slides
Truly Slides is your go-to solution if you're looking for an intuitive, feature-rich presentation tool with built-in text wrapping. Part of the comprehensive Truly Office suite, Truly Slides revolutionizes how you create and deliver presentations.
With Truly Slides, you no longer need to use workarounds to wrap your text around images or shapes. This functionality is natively built into the tool, allowing you to enhance your slide's readability and visual appeal effortlessly. Whether you're a student crafting a compelling project presentation or a professional preparing a persuasive business proposal, Truly Slides has you covered.
Try Truly Slides today and experience the ease of creating engaging, professionally designed presentations with in-built text wrapping.
Wrapping Text Around Images in Google Slides
Before you begin text wrapping in Google Slides, ensure you have the desired element to wrap your text around. This can be an image, shape, video, or another element type. It's crucial to complete this step first to estimate the element's size and enhance readability accurately.
After you have the element in your slide, follow the simple steps below to wrap your text around it.
- Navigate to the slide where you want to add text boxes.
-
Go to the "Insert" menu located at the top of the screen. From the dropdown menu, select "Text Box." This will create an empty text box on your slide.

- Click and drag your mouse cursor wherever you want to draw the text box on your slide. You can position it around images, graphics, or anywhere that suits your design.

- To add text to your text box, click inside it and start typing your content directly. Alternatively, copy text from another source (e.g., a document or a website) and paste it into the text box.

- Select the text you want to align. You can do this by clicking and dragging your cursor over the text. Find the "Align" option in the top toolbar. Click on it to reveal alignment options.
-
From the alignment options, choose "Justify." This will evenly distribute the text in the box, creating a clean and neat appearance.

- If the alignment still needs further adjustments, you can fine-tune the placement of the text boxes. Click and drag the edges or corners of the text box to resize and reposition them as necessary.
These steps will help you effortlessly add and format text boxes in your presentation slide, ensuring your content is well-organized and visually appealing.
How to Adjust Text Wrapping in Google Slides
You can adjust their wrapping settings once you've added the desired text boxes to your slide. To do this, select the text box and click on it once, then keep the mouse button pressed as you drag the box around. You can also click on a corner or edge and drag it to resize it as needed.
Keep an eye out for a red line indicating the text is about to overlap with the image. This indicates that you should drag the text box away from the image or adjust its size.
Conclusion
While Google Slides doesn't include a native text-wrapping tool, you can still easily achieve this effect using text boxes. This will help you arrange your content in an organized and visually appealing manner, making it easier to convey information effectively.
This article has given you the information to easily wrap text around images and other elements in your Google Slides presentations.
Mastering text wrapping will help you create captivating slides and deliver compelling presentations quickly and easily. If you want to create visually appealing presentations with seamless text wrapping effortlessly, try Truly Slides today. Experience the convenience and flexibility of our innovative features designed to enhance your presentation skills.
Supercharge Your Productivity With Truly Office
Discover a new way to enhance your productivity with Truly Office - the ultimate alternative to Microsoft Office. Unlock a world of possibilities by exploring our website and discovering the power of Truly Office. Don't miss out on valuable writing tips, troubleshooting advice, and informative articles. Take your writing skills to the next level!
Ready to revolutionize your office suite? Dive deeper into our comprehensive suite of tools designed to make your work life easier. Join the growing community of satisfied users who have already made the switch to Truly Office.
Don't settle for the status quo. Remember, success starts with the right tools. Visit Truly Office now and experience a whole new level of productivity.